

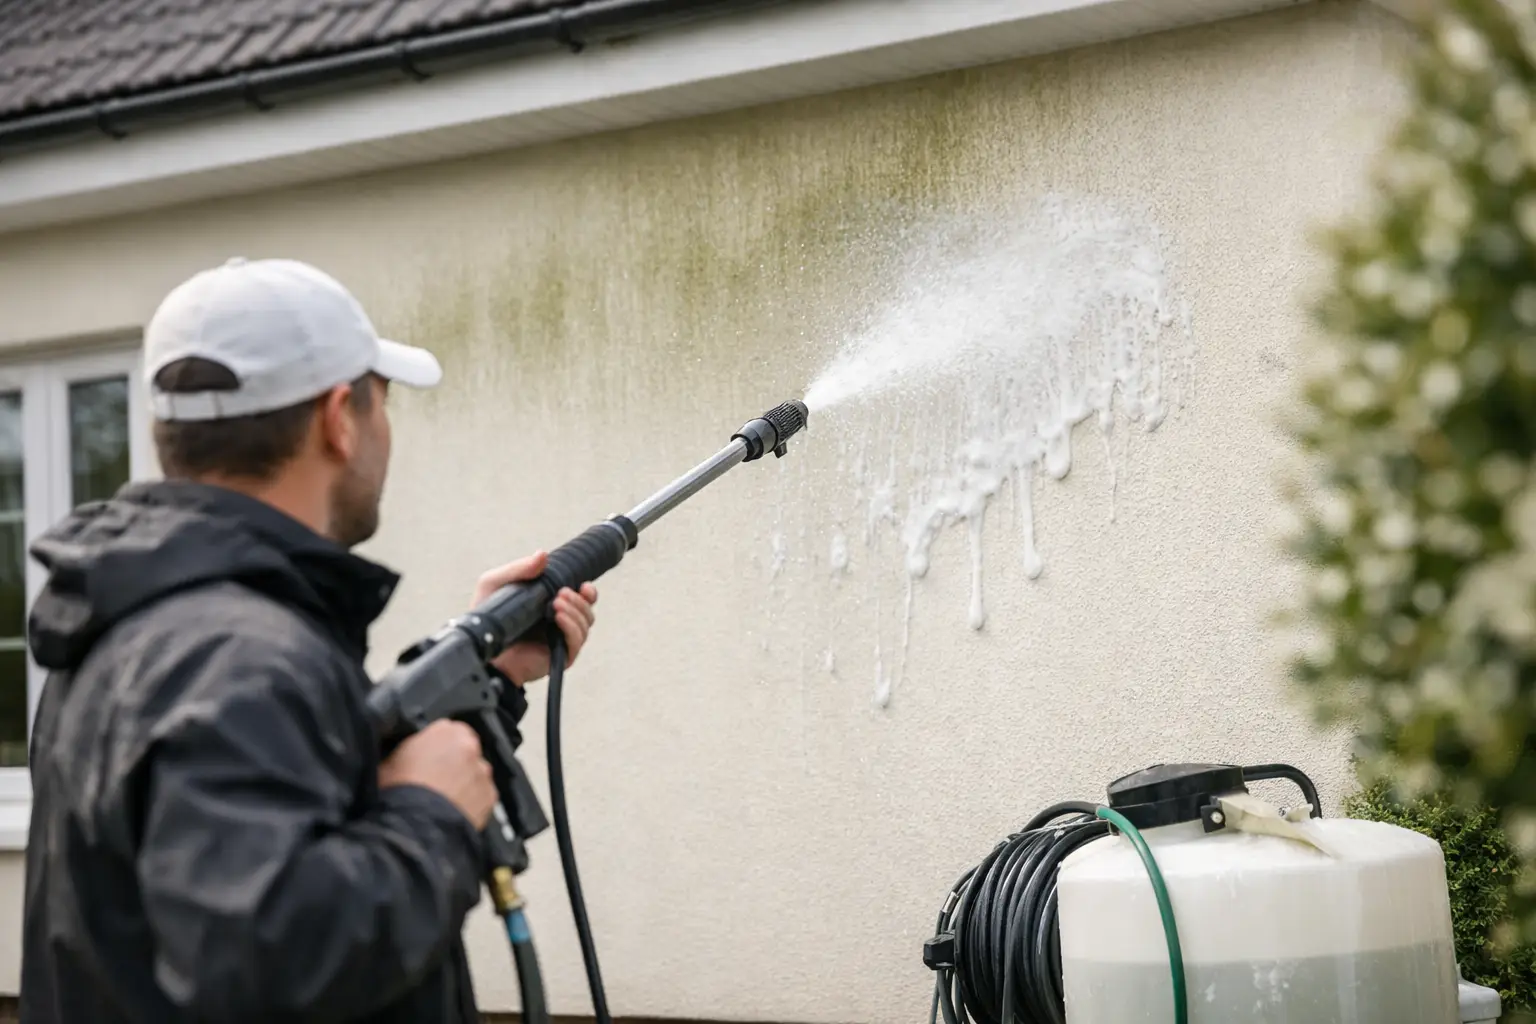
Render can make a property look sharp one month and tired the next. In Southeast Queensland, mould, algae and traffic grime build up fast, especially on shaded walls and damp elevations. If you are looking into how to soft wash render, the key is not blasting it with pressure. The safest results usually come from the right cleaning mix, the right dwell time and a controlled rinse that cleans the surface without stripping it back.
Why render needs a soft wash approach
Rendered walls often look solid enough to handle anything, but the outer finish can be more delicate than people expect. Painted render, acrylic render and older cement-based finishes can all be marked, etched or weakened by high-pressure cleaning if the pressure is too aggressive or the nozzle is too close.
That matters because most staining on render is not just loose dirt sitting on top. Green algae, black mould and lichen tend to anchor into the surface. If you only pressure rinse it, you may remove the visible growth but leave spores behind. That usually means the staining comes back sooner.
Soft washing works differently. Instead of relying on force, it uses a surface-safe chemical treatment to break down organic growth at the source. Once that treatment has had time to work, the wall is rinsed with low pressure. It is a better fit for render because it targets the contamination while reducing the risk of surface damage.
How to soft wash render step by step
The exact method depends on the age of the render, the type of coating on it and how heavy the growth is, but the process follows the same general pattern.
1. Inspect the render before anything gets wet
Start by checking the condition of the wall. Look for cracks, hollow patches, flaking paint, failed sealants and areas where water could get behind the finish. If the render is already compromised, washing can make the issue worse by pushing moisture into weak spots.
This is also the time to identify what you are actually cleaning. Dark streaks under windows can be dirt and water run-off. Green film is often algae. Black spotting may be mould. Rust, efflorescence and red dirt stains are different again and may need a more specific treatment.
2. Protect nearby surfaces
Before applying any cleaning solution, wet down surrounding plants and cover delicate items if needed. Remove or protect outdoor furniture, decorations and anything electrical. Soft wash solutions are effective because they are active, so managing overspray matters.
Windows, powder-coated fixtures, timber trims and metal surfaces should also be considered as part of the setup. A careful operator plans the wash around the whole exterior, not just the render itself.
3. Apply the correct soft wash solution
This is where the result is made or lost. The cleaning solution needs to match both the staining and the surface. For organic growth on render, that usually means a soft wash mix designed to kill mould, algae and mildew rather than simply loosen dirt.
Stronger is not always better. An overmixed solution can affect painted finishes, while a weak mix may do very little beyond wetting the wall. The aim is enough strength to treat the contamination, with the right application method to keep coverage even.
The wall is generally treated from the bottom up to help avoid streaking, then left to dwell for the required time. Dwell time is important. If you rinse too early, the treatment may not fully break down the growth. If you let it dry out on the surface, performance can drop and residue can become harder to manage.
4. Rinse with low pressure
Once the treatment has done its job, rinse the render with low pressure and plenty of water. This is not the stage for a turbo nozzle or a close-range pressure blast. The goal is to wash away dead organic matter and surface residue without scarring the finish.
A controlled rinse also gives you the chance to assess whether the wall needs a second treatment. Some heavily affected areas, especially shaded southern sides, may need another application rather than more pressure.
5. Reassess the result after drying
Render can look cleaner while wet, then show remaining stains once dry. That is normal. Some marks are biological and lift well with soft washing. Others, such as oxidised paint, rust transfer or old water staining, may remain even after a proper clean.
That is why good render cleaning is about realistic diagnosis as much as technique. A professional result is not pretending every stain will vanish. It is knowing what can be removed safely and what may need repair, repainting or specialist treatment.
Common mistakes when soft washing render
The biggest mistake is treating soft washing as just pressure cleaning with a bit of chemical added. Render should not be attacked with high pressure first and figured out later. Once etched or striped, the finish can be difficult and costly to restore.
Another common issue is using household cleaners that are not designed for exterior surfaces. These can be ineffective, leave patchy results or react badly with painted coatings. The same applies to guessing chemical ratios. Without the right mix and application method, you can end up with poor cleaning, unnecessary risk and faster regrowth.
People also underestimate how much the weather affects the process. Hot walls, direct sun and windy conditions can shorten dwell time and cause uneven results. On the other hand, very wet conditions can dilute the treatment before it has had a chance to work.
When DIY is reasonable and when it is not
If the render is at ground level, in sound condition and only lightly affected by grime or algae, a careful DIY soft wash may be manageable. Even then, it pays to be conservative. Test a small area first, avoid strong pressure and make sure runoff is controlled.
For double-storey homes, heavily stained walls, older painted render or commercial sites, professional cleaning is usually the safer option. The risk is not just the wall itself. It is ladder work, overspray management, plant protection, chemical handling and knowing how different finishes respond.
Property managers and body corporates often benefit from a professional approach because consistency matters across multiple elevations and shared areas. The work needs to be safe, efficient and presentable, especially where residents, customers or students are moving through the site.
How often should render be soft washed?
There is no one schedule that suits every property. A rendered home near trees, busy roads or coastal moisture may need cleaning more often than a house with full sun and good airflow. In many cases, an annual or biannual wash is enough to stay ahead of heavy growth and keep the surface looking maintained.
Waiting until the wall is deeply stained usually means a harder job and a less even finish. Regular maintenance is more cost-effective because the contamination is treated earlier, before it becomes deeply established.
That is one reason soft washing is often part of broader exterior maintenance rather than a one-off fix. Clean render lifts the whole property, but it also helps protect coatings and reduce the long-term impact of mould, algae and moisture retention.
What good render cleaning should achieve
A proper soft wash should leave the render visibly cleaner, more even in appearance and free from active organic growth. It should not leave zebra lines, patchy pressure marks or damage around joints and edges. Just as importantly, it should improve presentation without creating new repair work.
For homeowners, that can mean better street appeal, a fresher look before sale and less deterioration over time. For commercial and institutional properties, it helps maintain a clean, professional standard that reflects well on the site as a whole.
At Boost Exterior Cleaning, the focus is always on using the right pressure and treatment for the surface rather than reaching for maximum force. That approach matters on render because the best result is not just a cleaner wall today. It is a surface that still looks good and holds up well after the wash is done.
If your render is showing green streaks, dark patches or general weathering, the smart move is to treat it early and clean it properly. A careful soft wash can make a big difference without putting the finish at risk, and that is usually the difference between a quick clean and a result that lasts.


