

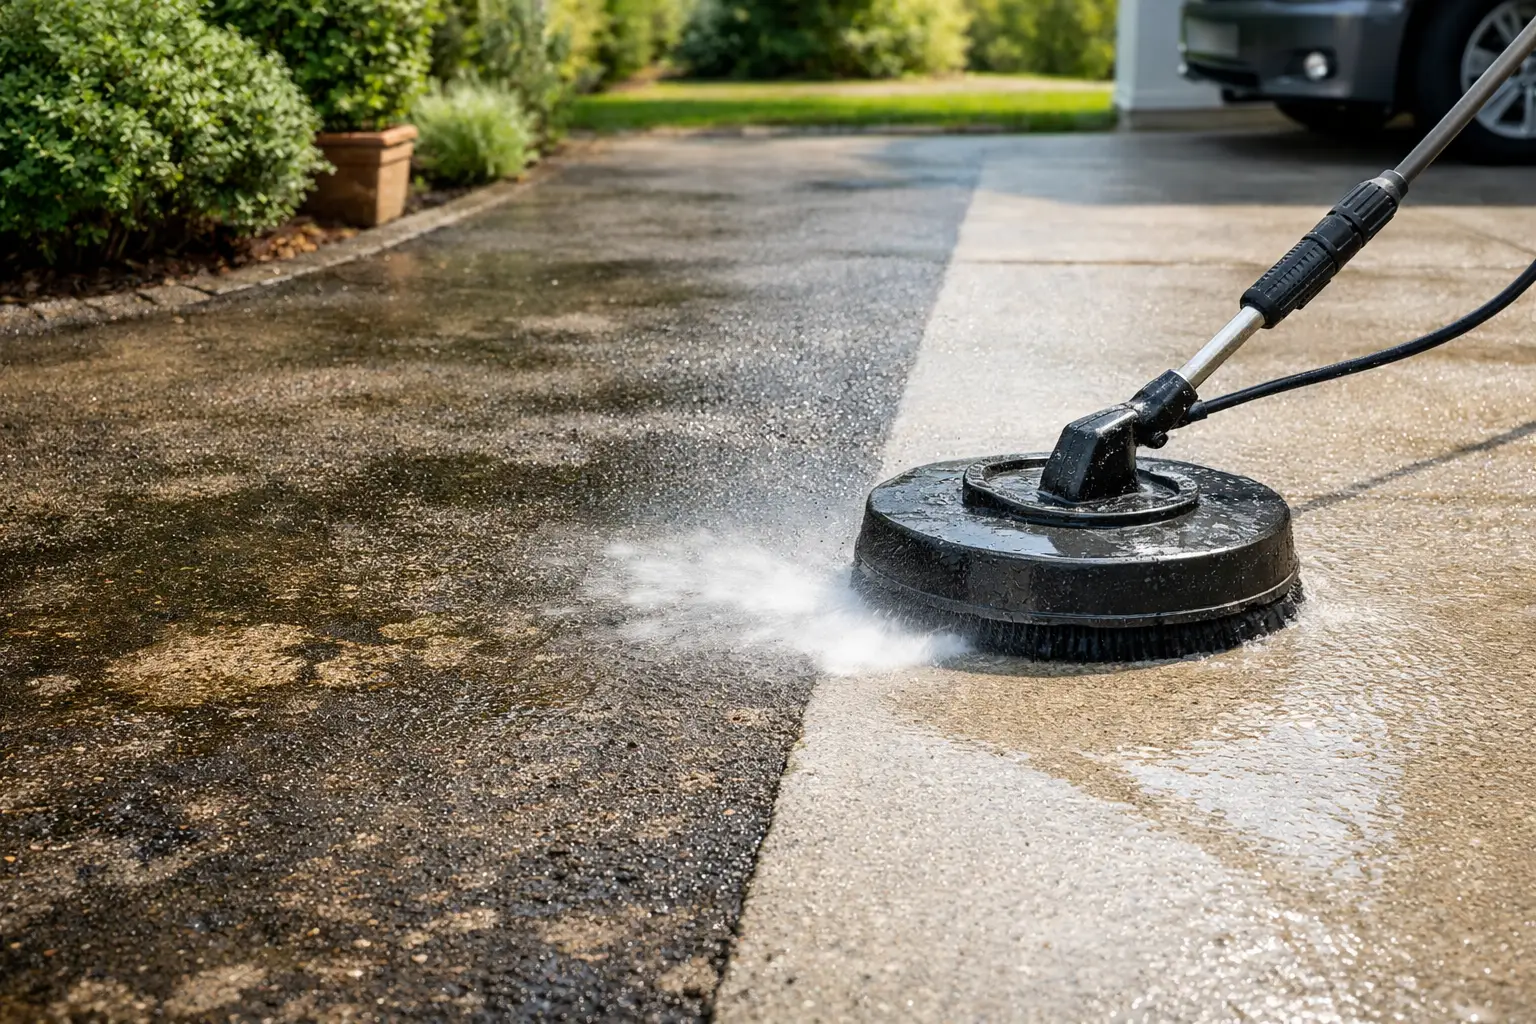
A driveway can look tired long before the rest of a property does. Tyre marks, leaf tannins, oil drips and black mould build up gradually, particularly through humid Queensland weather, until the surface starts to look permanently stained. Knowing how to clean a dirty driveway properly helps restore street appeal without blasting away the surface itself.
The right approach depends on what your driveway is made from and what is causing the discolouration. A high-pressure cleaner can produce a dramatic result, but excessive pressure, the wrong nozzle or harsh chemicals can etch concrete, strip jointing sand from pavers and leave visible cleaning lines. Good driveway cleaning is about matching the treatment to the surface.
Why a dirty driveway needs more than a quick hose-down
Most driveway grime is a combination of several problems. Dust and road residue settle into the pores of concrete. Moisture and shade encourage mould, algae and mildew. Leaves can leave brown tannin marks, while vehicles bring in tyre residue, oil and brake dust.
These contaminants affect more than appearance. Algae and mould can make a driveway slippery when wet, especially near garden beds, side gates and shaded parking areas. Oil can penetrate porous concrete, and organic growth holds moisture against the surface. Left for long periods, staining becomes harder to remove and the driveway may deteriorate faster.
A regular clean also improves how the whole property presents. For homeowners preparing to sell, landlords arranging a tenancy turnover and managers looking after common areas, a clean driveway makes an immediate difference before anyone reaches the front door.
How to clean a dirty driveway: assess it first
Before bringing out a high-pressure cleaner, inspect the driveway closely. The surface will determine how much pressure it can safely handle and which treatment is appropriate.
Plain concrete is durable, but old concrete can be softer and more porous than it appears. Exposed aggregate needs care because aggressive cleaning can loosen surface stones or leave patchy areas. Pavers may require jointing sand to be replaced after cleaning, while natural stone needs a surface-safe treatment that will not cause etching or colour changes. Asphalt should never be treated like concrete, as high pressure can damage its binder and loosen the finish.
Then identify the main contaminant. Green or black growth usually needs a suitable mould and algae treatment before rinsing. Fresh oil needs to be absorbed and treated with a degreaser. Rust, paint and tyre marks may need specialist products or techniques. Trying to solve every stain with more pressure is one of the fastest ways to damage a driveway.
Check for cracks, loose pavers, flaking concrete and weakened edges as well. Cleaning will not repair structural issues, and directing water into open cracks can make existing damage worse.
Prepare the area before washing
Clear cars, pot plants, bins, outdoor furniture and loose items from the driveway. Sweep away leaves, dirt and loose gravel so they do not become abrasive underfoot or block drains during rinsing.
Protect nearby garden beds, lawns and painted surfaces from runoff. If you are using a cleaning solution, wet surrounding vegetation first and rinse it again afterwards. Work with the slope of the driveway and keep an eye on where water is travelling. Dirty wash water should not be pushed into a pool, stormwater drain or neighbouring property.
For personal safety, wear enclosed shoes with grip, gloves and eye protection. A high-pressure stream can cut skin, throw grit back towards your face and damage footwear. Keep children and pets well away from the work area until it is clean and dry.
Treat mould, algae and stains before pressure cleaning
For mould and algae, apply an appropriate exterior cleaning treatment according to the product directions and allow it to dwell for the recommended time. This step breaks down the growth at its source, so you are not relying on water pressure alone. On heavily affected driveways, treatment may need to be repeated rather than made stronger.
For oil spots, act early where possible. Cover fresh spills with an absorbent material, then sweep it up before applying a concrete-safe degreaser. Work the product into the stain with a stiff nylon brush and give it time to lift the oil. Deep, old oil stains can remain visible even after professional cleaning because they have soaked below the surface. The goal is often a major improvement rather than an unrealistic promise of a brand-new finish.
Leaf tannins, rust and paint all require separate treatment. Avoid mixing chemicals or using acids without knowing whether they suit the driveway material. A product that works on plain concrete may permanently mark natural stone, coloured concrete or pavers.
Use the right pressure and cleaning pattern
Once treatment has had time to work, rinse using a controlled, even method. Start with a wider fan nozzle rather than a narrow, concentrated jet. Hold the wand at a consistent distance from the surface and test in an inconspicuous corner first.
Move in overlapping passes, keeping your pace steady. Stopping in one spot or cleaning in random patches can leave tiger-striping, where the driveway dries with obvious pale and dark bands. A surface cleaner attachment is often the best option for larger concrete areas because it keeps the cleaning distance consistent and produces a more even finish.
Do not assume maximum pressure equals maximum cleanliness. On an older driveway, lower pressure combined with the correct pre-treatment can deliver a better result and reduce the chance of etching. If exposed aggregate starts to look rougher, paver sand is washing out quickly or the surface is changing colour, stop and reassess the method.
Cleaning concrete and exposed aggregate
Concrete and exposed aggregate can generally handle professional pressure cleaning, but both need an even technique. Pre-treat mould and stains, rinse steadily and avoid aiming directly at edges, cracks and expansion joints. Exposed aggregate deserves extra care because its decorative stone finish can be affected by overly aggressive cleaning.
Cleaning pavers and natural stone
Pavers should be cleaned at a lower, controlled pressure to avoid dislodging jointing sand. Once the surface is dry, inspect the joints and replace sand where needed to help keep the pavers stable. Natural stone varies widely, so a surface-specific cleaner and gentle wash method are the safer choice. Acidic cleaners can cause irreversible etching on some stone surfaces.
Cleaning asphalt driveways
Asphalt is not suited to standard high-pressure driveway cleaning. Strong pressure can remove loose material and create a rough, uneven appearance. Use a gentle wash, suitable detergent and soft brushing for problem areas, or arrange an assessment if there is widespread staining or biological growth.
Rinse thoroughly and inspect the finish
Rinse from the highest point of the driveway down towards the drain or lawful runoff area. Remove all cleaning residue, especially around edges, garden beds and garage entrances. A driveway can look clean while wet but reveal missed patches, streaks or stubborn stains as it dries.
Allow the area to dry fully before returning vehicles. This gives you a true view of the result and reduces the chance of fresh tyre marks being transferred onto damp concrete. If stains remain, avoid repeatedly attacking them with high pressure. A second targeted treatment is usually safer and more effective.
When professional driveway cleaning is the better option
DIY cleaning works well for light surface dirt and routine maintenance, provided you have the right equipment and know how to use it. Professional help is worth considering when the driveway has extensive black mould, deep oil contamination, rust marks, old paint, large areas of exposed aggregate, natural stone or pavers with failing joints.
It is also a practical choice for long driveways, body corporate areas, schools and commercial car parks where presentation, slip risks and efficient turnaround matter. Professional operators can select the appropriate pressure, chemicals and equipment for the material, rather than taking a one-method-fits-all approach. Boost Exterior Cleaning uses surface-safe treatments and professional-grade equipment to achieve a thorough clean while protecting the finish underneath.
Keep the driveway cleaner for longer
The easiest way to reduce heavy build-up is to remove leaves and garden debris regularly, especially after storms. Address oil leaks and spills promptly, trim back plants that keep the driveway damp, and clean shaded areas before mould becomes established.
For porous concrete, pavers and some natural stone, sealing after the surface is fully cleaned and dry can make future maintenance easier. A suitable sealer can reduce moisture absorption and help limit staining, but it must be matched to the material and applied to a properly prepared surface. Sealing over dirt, moisture or existing growth only locks the problem in.
A clean driveway does more than sharpen kerb appeal. It gives you a safer, more presentable surface and makes small issues easier to spot before they become expensive repairs. Treat the surface with care, clean it before staining becomes entrenched, and the results will last far longer than a quick blast with a hose.


