

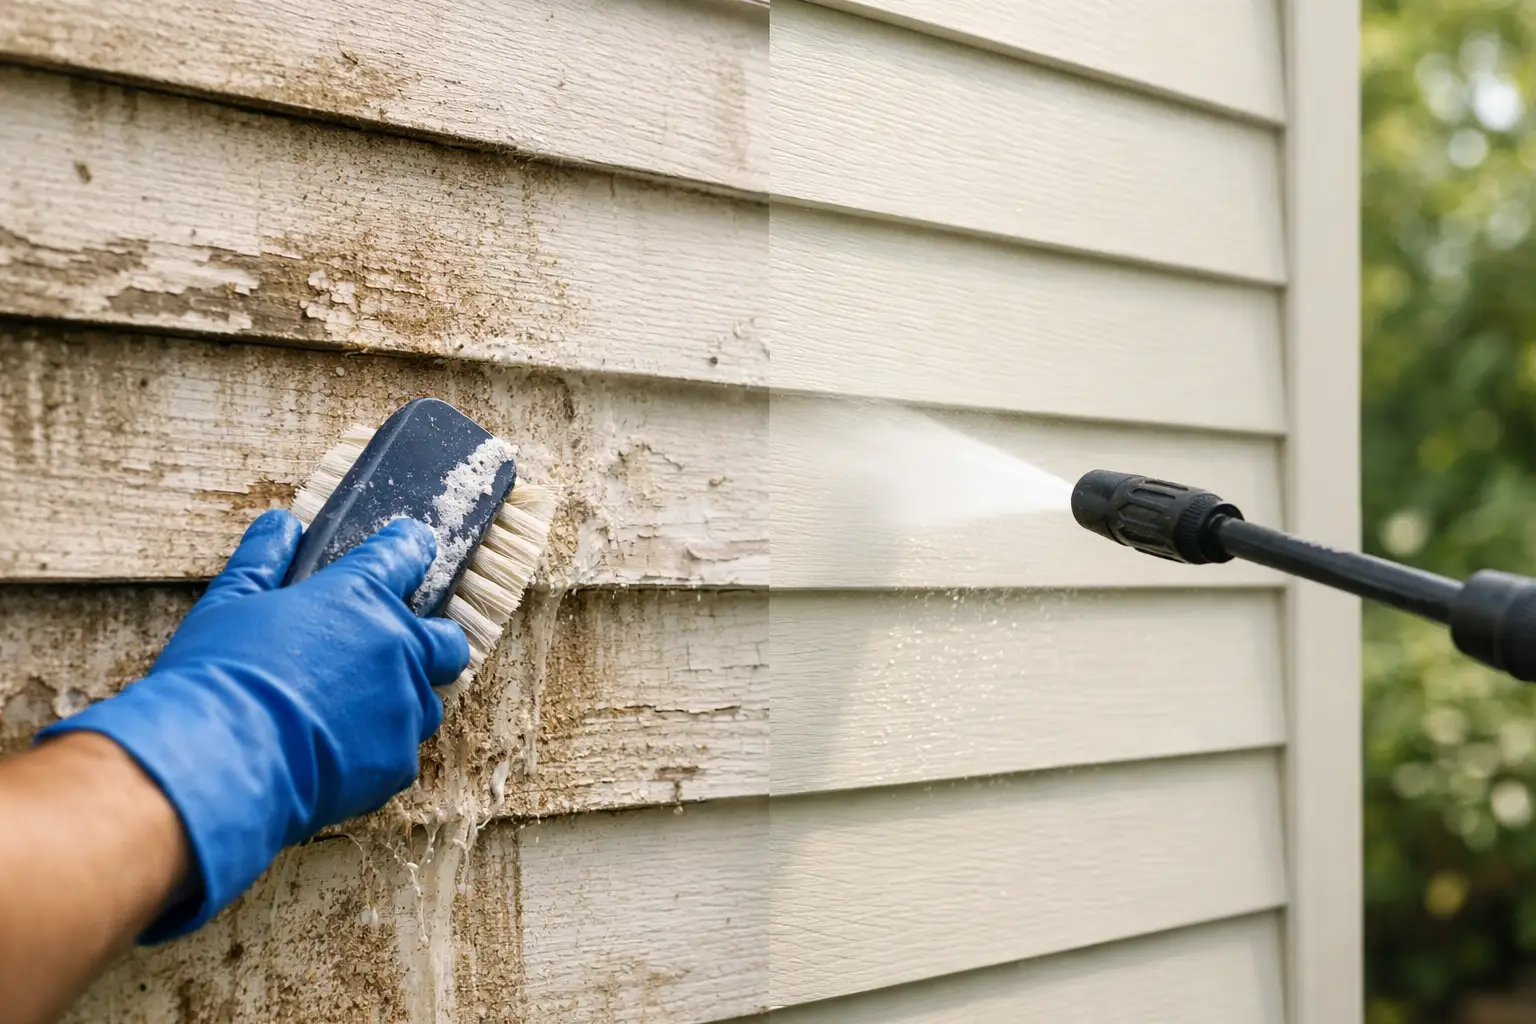
A fresh coat of paint can make a Queensland weatherboard home look exceptional, but paint applied over mould, chalky residue or embedded grime will not deliver the finish or lifespan you are paying for. Weatherboard cleaning before painting is the practical first step that gives the painter a sound, clean surface to work with.
On older timber homes especially, the dirt is rarely just dirt. Humidity, rain, airborne pollutants and shaded walls create the ideal conditions for mould and algae. Left in place, this contamination can affect paint adhesion and leave the new coating looking patchy far sooner than it should.
Why Weatherboard Cleaning Before Painting Matters
Paint needs a surface that is clean, dry and stable. When weatherboards are coated with mould spores, cobwebs, dust, oxidised paint residue or salt deposits, the paint may struggle to bond properly. That can lead to early peeling, bubbling, flaking and uneven colour.
Cleaning also makes the condition of the cladding easier to assess. Once the grime is gone, you can clearly see split boards, failed caulking, loose paint, timber rot and nail holes that need attention before painting begins. It is far better to find these issues during preparation than after the final coat is on the wall.
For homeowners preparing to sell, a proper clean and repaint can lift street appeal considerably. For landlords, body corporates and property managers, it is a sensible way to protect the building fabric and keep the property presentable between tenancies or maintenance cycles.
Soft Washing Is Usually the Safer Choice for Weatherboards
Weatherboards need a considered approach. High pressure used too closely can force water behind boards, damage older timber, strip sound paint and leave visible marks in softer sections of the cladding. That is why pressure alone is not the answer.
Soft washing combines low-pressure application with an appropriate cleaning treatment to break down mould, algae and organic staining. The surface is then rinsed carefully, leaving the boards clean without the unnecessary force that can damage paintwork and delicate exterior finishes.
The right method depends on the property. Painted timber, fibre cement weatherboards and previously restored cladding may each need a different cleaning approach. Heavy mould growth may require a stronger treatment than general road grime, while a heritage-style home with ageing paint calls for extra care. The goal is not simply to make the house look cleaner for a day. It is to prepare the surface without creating more repair work for the painter.
What Should Be Removed Before Painting
A good pre-paint clean addresses more than the obvious marks around windows and under eaves. It should remove the contaminants that can interfere with paint performance across the whole exterior.
This includes mould and mildew, green algae, dust, cobwebs, insect residue, bird droppings, pollen, greasy airborne deposits and loose chalky paint residue. In coastal or exposed areas, salt can also settle on exterior surfaces and should be washed away before painting.
Cleaning will not repair failed paint or rotten timber, and it should not be used to hide a maintenance issue. If boards are soft, cracked or lifting, arrange repairs first. If the existing coating is badly peeling, the painter may need to scrape and sand after cleaning. These steps work together: wash, allow the exterior to dry, repair defects, prepare paint edges, then apply the coating system recommended for the surface.
Do not paint over mould
Mould is one of the most common reasons exterior paint fails early in Southeast Queensland. Applying paint over visible mould may cover the staining temporarily, but it does not remove the source of the problem. Spores and residue beneath the coating can affect adhesion and may return where moisture remains.
A professional clean treats the affected areas properly, including shaded sides of the home, lower boards near gardens, areas behind downpipes and walls beneath roof overhangs. These are the places where mould often builds up unnoticed.
The Right Timing Before the Painter Arrives
Ideally, book the exterior clean before the painter begins detailed preparation. This prevents cleaning chemicals, rinse water and loosened debris from interfering with completed paintwork. It also gives you a clear view of every board before quotes are finalised and repairs are scheduled.
After washing, the weatherboards must dry fully before sanding, priming or painting. Drying time depends on the material, the amount of water used, recent rain, humidity, shade and airflow. In warm, dry conditions, surfaces may dry relatively quickly. After wet weather or on a heavily shaded wall, extra time is necessary.
Do not rely on a board feeling dry at the surface. Moisture can remain around overlaps, joins and end grain. Your painter should confirm that the cladding is dry enough for the selected primer or paint system. Rushing this part of the job can trap moisture and reduce the life of the finish.
Coordinate cleaning, repairs and painting
The smoothest projects follow a simple order. First, clean the house to remove contamination. Next, inspect the weatherboards and organise any carpentry repairs. Then complete scraping, sanding, filling and priming as required before painting in suitable weather.
If your home has extensive peeling paint, tell the cleaning contractor before work begins. The cleaning method can be adjusted to avoid aggressively disturbing already failing areas while still removing mould and grime. Clear communication between the cleaner, homeowner and painter prevents surprises and helps protect the property.
Can You Clean Weatherboards Yourself?
Light dust and cobwebs can be managed with a soft broom or gentle hose rinse, but full pre-paint cleaning is often best left to professionals. The risks increase when you are working at height, around old paint, near electrical fittings or on timber that is already weathered.
A hired pressure washer can seem like a quick solution, yet incorrect pressure, nozzle choice or distance can cause damage in seconds. Water may be driven behind cladding, paint can be stripped unevenly, and windows, screens and garden plants can be affected. Household cleaners can create problems too if they are not suited to the surface or are not rinsed correctly.
Professional exterior cleaners use purpose-built equipment and surface-appropriate treatments, with the pressure set for the job rather than used at maximum force. They can also work safely around eaves, upper-storey walls, paths, garden beds and outdoor fixtures. For homes with older weatherboards or heavy biological growth, that experience is worth having before an expensive paint job.
A Clean Finish Starts With Surface Care
The quality of exterior painting is decided well before the first brush or spray gun comes out. Clean weatherboards give paint the best chance to adhere evenly, look sharper and stand up to Queensland conditions.
Boost Exterior Cleaning provides soft washing for painted exteriors across Southeast Queensland, using the right treatment and pressure for the surface. A professional clean can remove the mould, grime and residue standing between your home and a durable new finish. Arrange it early, allow adequate drying time, and give your painter a surface that is ready for quality work.
A repaint is a significant investment. Start with clean, properly prepared weatherboards and the finished result will have every chance to look better for longer.


