

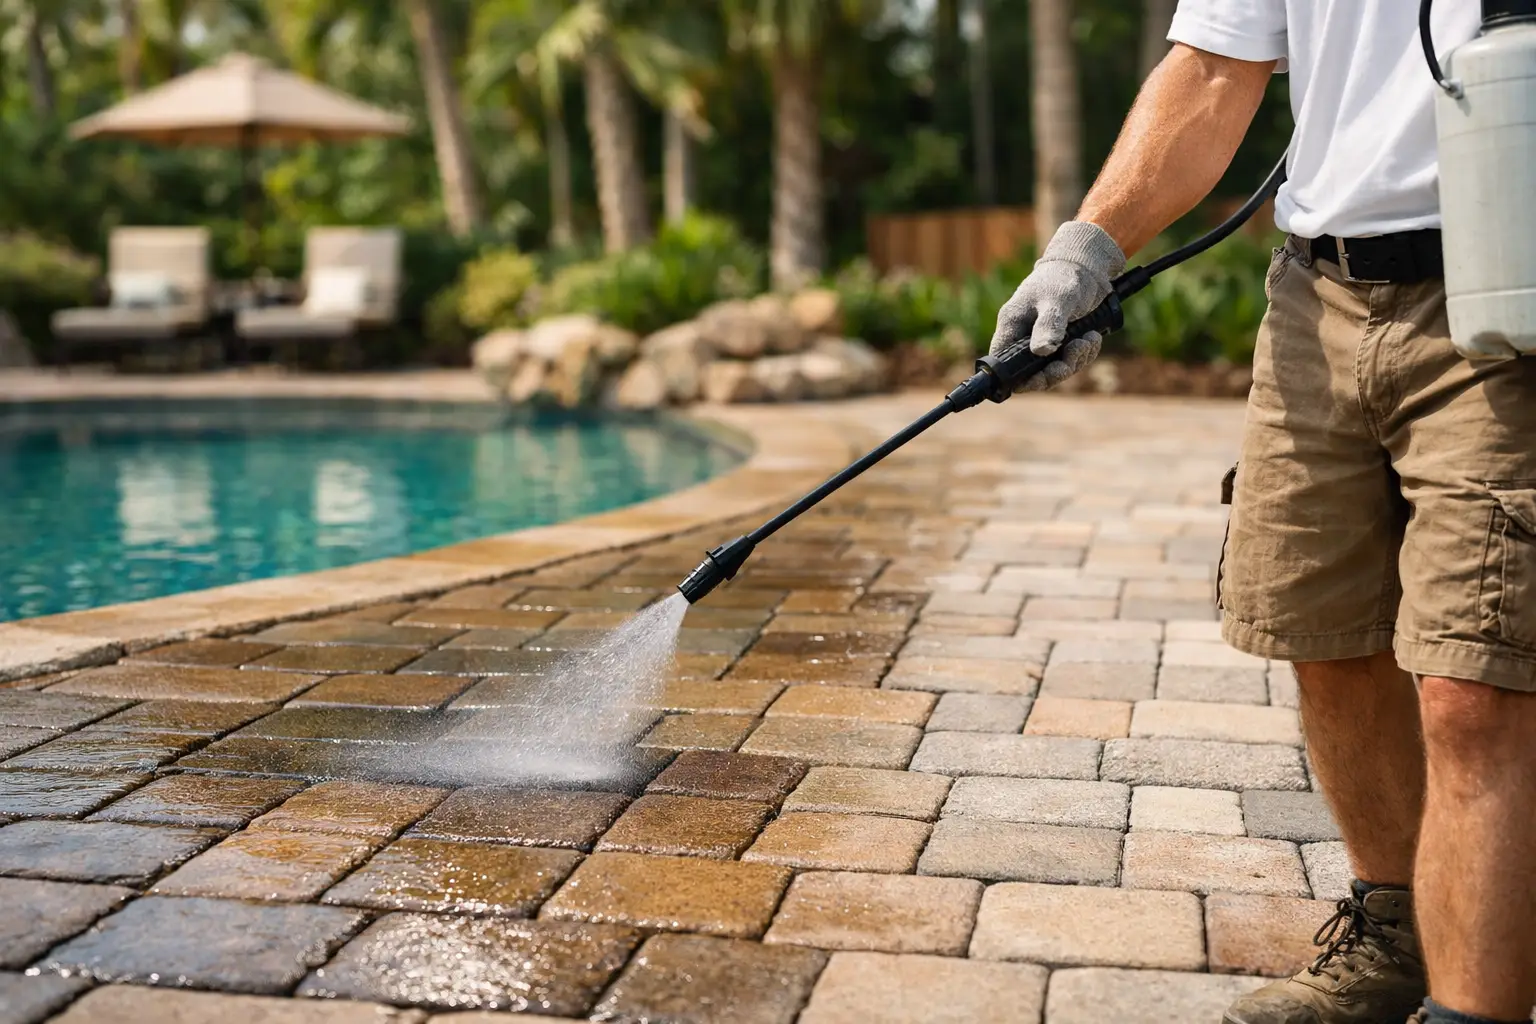
A freshly cleaned paved driveway can make the whole front of a property look sharper. But sealing too soon, over trapped moisture, or before mould and stains are properly removed can leave pavers looking patchy rather than protected. If you are asking, “when should pavers be sealed?”, the short answer is after thorough cleaning and once the surface is fully dry – but the right timing also depends on the paver type, its age and Queensland weather.
For homes, body corporate properties and commercial sites, paver sealing is not only about a richer colour or a neat finish. The right sealer can reduce water absorption, make routine cleaning easier and help limit staining from leaves, tyres, oil and outdoor spills. It should be treated as part of a planned exterior maintenance programme, not a quick fix for a surface that needs cleaning first.
When Should Pavers Be Sealed?
The best time to seal pavers is after they have been professionally cleaned, treated for mould or algae where needed, and allowed to dry completely. In South East Queensland, that often means choosing a clear weather window rather than booking around a wet spell.
As a general rule, the surface needs at least 24 to 48 hours of dry conditions before sealing, depending on the material, shade, humidity and how heavily the pavers were cleaned. It also needs adequate dry time after the sealer is applied. A driveway that looks dry on top may still hold moisture below the surface or between joints, particularly after pressure cleaning or persistent rain.
Avoid sealing during rain, when rain is expected before the product has cured, or in the middle of an extremely hot day. Strong direct sun can make a sealer flash-dry too quickly, which may affect the finish. Early morning moisture and afternoon storms are also worth considering during Queensland’s warmer months. A professional will assess the forecast, paver temperature and site conditions before starting.
New pavers need time to cure
Newly laid concrete pavers should not usually be sealed straight after installation. They need time to cure, release construction moisture and show any early efflorescence – the pale, powdery mineral residue that can appear on masonry products.
The recommended wait varies by product and manufacturer, but four to six weeks is a common starting point for concrete pavers. Some installations may need longer, especially where bedding sand remains damp, drainage is poor or there has been frequent rain. Natural stone, clay pavers and porcelain products have different requirements, so the sealing method should always suit the material rather than follow a one-size-fits-all schedule.
Sealing before the pavers are ready can trap moisture or residue beneath the coating. That can lead to whitening, haziness or uneven sheen, and may mean the sealer has to be stripped and reapplied.
Seal After Cleaning, Not Before
Sealer locks in the appearance of a surface. That is helpful when the pavers are clean and dry. It is a problem when mould, algae, tyre marks, rust stains or dirt are still present.
A proper preparation process starts with selecting the right cleaning method for the paver and surrounding areas. High pressure is not suitable for every surface or every joint condition. Excessive pressure can disturb jointing sand, damage softer materials and leave an inconsistent finish. Depending on the site, chemical treatment, controlled pressure cleaning and targeted stain removal may all be needed before sealing.
Once cleaned, the pavers should be inspected for loose units, damaged edges, drainage issues and depleted jointing sand. These items are easier and more cost-effective to address before a protective coating goes on. If pavers move underfoot or water consistently pools in one area, sealing will not solve the underlying issue.
For driveways and pedestrian areas, re-sanding the joints may also be part of the preparation. The correct sand and application method help stabilise the paving and improve the overall result. It is not simply a matter of sweeping sand across the top and applying sealer straight away.
Signs Your Pavers Are Ready for Resealing
Existing sealed pavers do not need to be recoated every year. The timing depends on traffic, exposure, paver type, sealer choice and how the area is maintained. A covered patio may hold its finish for several years, while an exposed driveway facing harsh sun, rain and vehicle traffic may need attention sooner.
Many residential paved areas benefit from resealing every two to four years. High-traffic commercial walkways, entrances and drive lanes may need more frequent inspection. Instead of relying only on the calendar, look at how the surface is performing.
Pavers may be due for resealing if water soaks in quickly rather than beading on the surface, stains are becoming harder to remove, the colour looks faded, or the previous finish is wearing unevenly through traffic areas. Mould and algae returning quickly can also indicate that the surface has become more porous, although shading, drainage and nearby vegetation still need to be considered.
A simple water check can be useful. Pour a small amount of clean water onto a dry, inconspicuous section. If it beads and remains on the surface for a short time, the sealer may still be doing its job. If it darkens the paver and absorbs rapidly, the protection may be wearing away. This is only an indicator, not a replacement for an on-site assessment, particularly where previous coatings are failing or patchy.
Choose the Right Sealer for the Surface and Result
Not every paver should have a glossy finish. The best sealer is the one that suits the material, location and expected use.
A penetrating sealer is often chosen where a natural, low-sheen appearance is preferred. It works below the surface to help reduce water and stain absorption without dramatically changing the paver’s look. This can be a practical choice for natural stone and areas where slip resistance is a priority.
Topical or film-forming sealers sit closer to the surface and can provide a more noticeable colour enhancement or wet-look finish. They can create a strong visual result on some concrete pavers, but they need careful product selection and application. In the wrong setting, a high-sheen coating can become slippery when wet, show wear in traffic lanes or require more involved maintenance later.
The same consideration applies around pools, outdoor steps, sloping driveways and commercial entrances. Safety, drainage and the intended finish matter as much as appearance. A clear conversation before work starts helps avoid a result that looks good on day one but does not suit how the area is used.
Queensland Conditions Change the Timing
Queensland’s heat, humidity, storms and subtropical growth create demanding conditions for external paving. Pavers under trees or beside gardens can collect organic debris and stay damp longer. South-facing paths, shaded pool surrounds and areas near downpipes often develop mould and algae faster than sunny, open sections.
That does not mean you need to wait for winter to seal. It means the weather window and drying time need to be managed carefully. During wet, humid periods, drying may take longer than expected. In dry weather, the surface can still be unsuitable if it was recently cleaned, heavily saturated or cool and damp beneath the top layer.
Property managers should also consider operational timing. Sealing a retail entry, school path or shared driveway requires enough time to cordon off the area while the coating cures. Planning the work around lower-traffic periods protects the finish and reduces disruption for residents, customers and staff.
What to Do Before Booking Paver Sealing
Before arranging paver sealing, take note of any existing issues: persistent stains, white residue, loose pavers, failed coating, pooling water or slippery areas. Photographs can help when requesting a quote, but an inspection is often the best way to confirm the right cleaning and sealing approach.
Keep vehicles, outdoor furniture, pot plants and loose items clear of the area where practical. If sealing a driveway, plan for alternative parking while the product cures. The exact return-to-service time depends on the sealer, weather and whether the area is for foot traffic or vehicles, so follow the advice provided for the specific job.
Boost Exterior Cleaning approaches paver sealing as a surface-restoration process: clean correctly, allow proper drying time, prepare the joints and apply a suitable protective finish. That sequence gives the sealer the best chance to perform as intended.
Well-timed sealing keeps paving easier to maintain and helps your outdoor areas continue to present well between cleans. The best result starts with patience: let the pavers dry, deal with the cause of staining or growth, and seal only when the surface is genuinely ready.


